By now, you may have seen Stacks community members on the Gamma marketplace, Twitter, and Discord with .BTC at the end of their name. You may be wondering, what does this mean? How do I get one? Is there any point?
.BTC domains are registered through a smart contract on Stacks, secured by Bitcoin. This smart contract implements a decentralized name registry. Given Stacks’ unique connection to Bitcoin, registering .BTC names automatically generates a pair of corresponding Bitcoin and Stacks addresses.
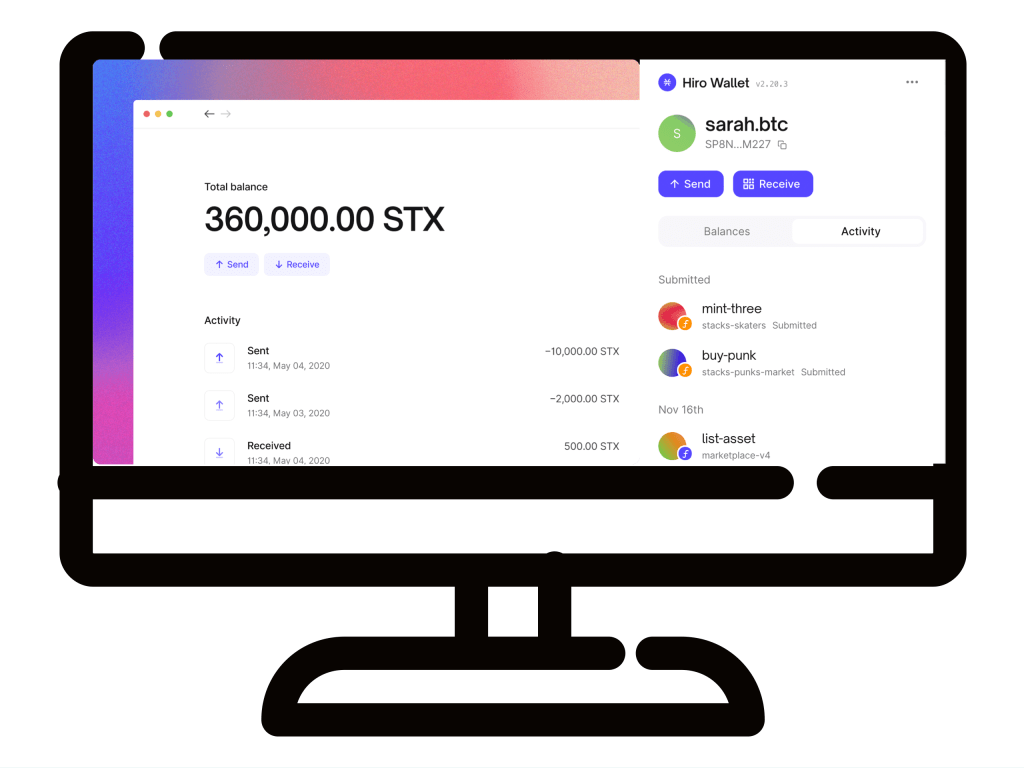
Your BNS (Bitcoin Naming Service) address represents your identity in Web3, and we’ll show that on Gamma. Your profile will automatically inherit your BNS name (stacks.gamma.io/yourBNSnamehere.btc), and you can set a custom bio, social links, and an NFT profile pic. You can also use your BNS to transfer NFT’s or view someone’s collection on Gamma, or send and receive tokens like STX and BTC through XVerse wallet. If you have a portfolio, business, or a new website idea, you can also use the Web 2.0 DNS integration with http://btc.us to set up a custom redirect at your .btc domain.
Claiming your BNS
So, how do you purchase one? Here’s a short walkthrough to help you out:
- Head to https://btc.us/.
- In the top right corner, you will need to connect your wallet by clicking “Sign In” – Make sure to select a wallet which does not already have a .BTC domain tied to it, as you can only have one BNS per wallet.
- In the search bar, type in the name you would like to purchase — you will either see “Unavailable” or “Available for ~$5/5 years.” If a BNS is available, you can click “Get It.”
- You will be directed to a new page where you need to ensure all the details are correct and then click “Continue.”
- There are two steps on the next loading page: 1. “Preorder” 2. “Register” which both require a transaction and a gas fee.
- Click “Send” to preorder – you will need to wait for the transaction to confirm (this will come up in small green writing.)
- Next, click “Register” which will again require a small gas fee — wait for this transaction to confirm.
- If your purchase was successful, you’ll see an update in your wallet labeled with your new BNS! You can now manage your new .BTC domain or purchase another one.
- Finally, click “Account” in the top right hand corner, and you will be re-directed to a page where you can click “Sign Out” to disconnect your wallet from the website — signing out is good practice in Web 3.0!
Purchasing your BNS
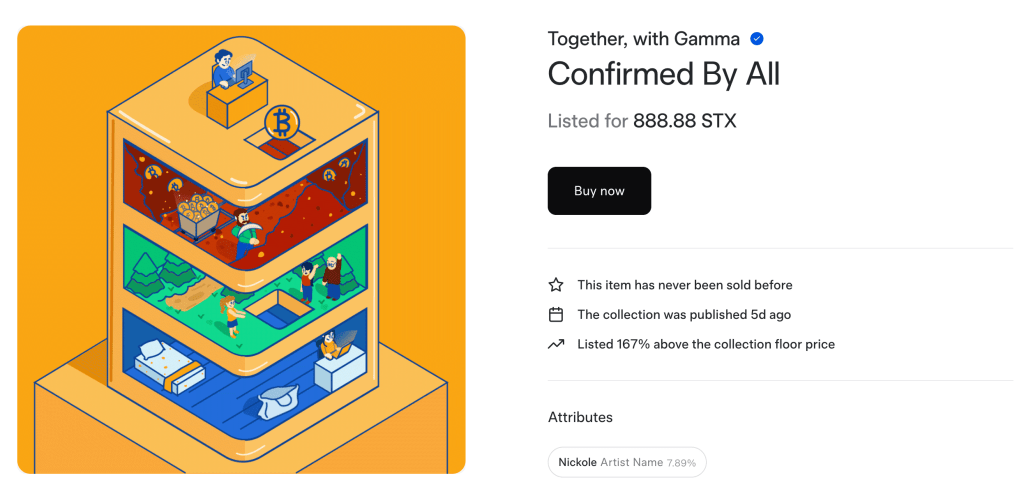
If you’re interested in a BNS domain that already exists, you’ll have to purchase it off of the secondary marketplace. Here’s a walkthrough to help you do that:
- Head to https://stacks.gamma.io/collections/bns
- Make sure you’ve signed into your account by connecting your wallet and authenticating.
- Browse the BNS collection!
- If the BNS you want is on sale and you’d like to purchase it, click “Buy now” and sign the transaction to approve by hitting “Confirm” in the pop-up window of your wallet.
Finally, if you’re a BNS trader looking for tips, check out our Twitter thread below and turn on notifications so you don’t miss any alpha 👀
Sorry for leaking this alpha… we've got 8 pro tips for .btc users and traders, a thread 🧵
— Gamma.io (@trygamma) October 4, 2022
Once you’ve got your BNS domain, it’s time to share it with the world! Let us know on Twitter if this guide was helpful.